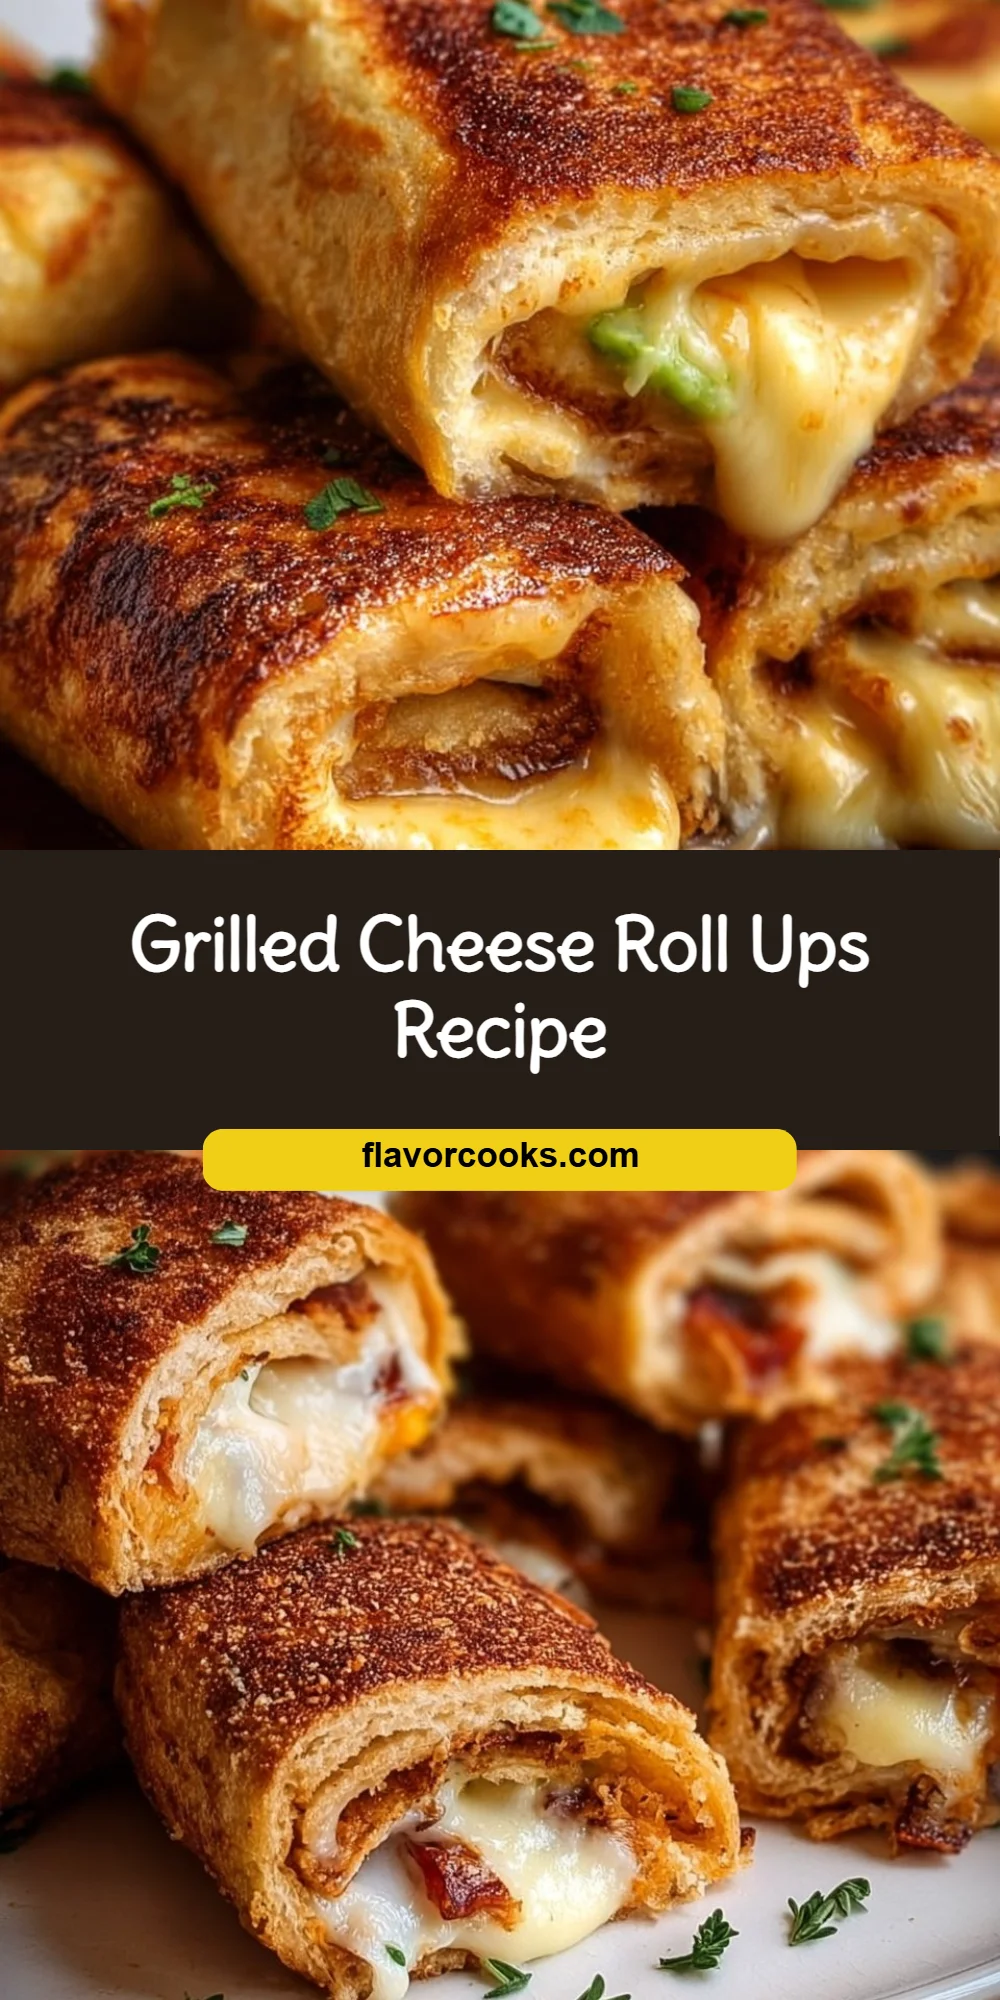
There’s something truly special about the crispy, gooey goodness that is a Grilled Cheese Roll Up. Imagine biting into a perfectly golden roll, where the tender bread gives way to a melty, stretchy layer of cheese, each mouthful a delightful blend of textures. This dish isn’t just comfort food; it’s nostalgia on a plate, reminding me of cozy afternoons spent in the kitchen with my family. I whip these up when I’m craving something indulgent and delicious, often after a long day when I need a little pick-me-up.
These roll-ups come together surprisingly fast, making them perfect for busy weeknights or fun gatherings. They also lend themselves beautifully to creativity—feel free to dip them in your favorite sauces or serve alongside a vibrant salad. And just in case, if you have any leftovers, you’ll find they’re still enjoyable the next day, though good luck keeping them around that long!
Why I Love Grilled Cheese Roll Ups
Grilled Cheese Roll Ups Recipe hits that sweet spot between simplicity and flavor. They’re incredibly easy and undeniably delicious, a true winner at my table! I love how each bite melts in your mouth, and you can customize them to suit your mood. Whether you pack them with classic cheddar or experiment with multiple cheeses, they always seem to brighten my day. Honestly, once you try them, they’re going to become a staple in your kitchen, just like they are in mine!
Grilled Cheese Roll Ups Ingredients
The magic of this Grilled Cheese Roll Up truly lies in its simplicity and harmony of ingredients. Don’t worry about exact measurements just yet; those are all in the recipe card for you!
Core Ingredients and Their Roles
- BREAD: 8-10 slices of soft white sandwich bread (crusts removed). The softer and fresher the bread, the easier it will be to flatten and roll without tearing. Wonder Bread or similar generic white bread works exceptionally well due to its pliability. Whole wheat can be used, but ensure it’s a soft variety.
- CHEESE: 8-10 slices of your favorite melting cheese. Classic choices include:
- Cheddar Cheese: Provides a sharp, tangy flavor; medium or sharp cheddar works beautifully.
- American Cheese: The ultimate melter, offering a creamy, classic grilled cheese taste.
- Monterey Jack: Mild, buttery, and melts exceptionally well.
- Colby Jack: A delightful swirl of Colby and Monterey Jack, offering mild flavor and great meltability.
- Provolone: Offers a slightly more complex, mild, and smoky flavor with excellent stretch.
You can also use shredded cheese, but slices tend to be neater for rolling. If using shredded, don’t overfill.
- BUTTER: 4-5 tablespoons of unsalted butter, softened to room temperature or melted. Salted butter can also be used; if so, you might want to omit any additional salt when seasoning. The butter is crucial for achieving that golden-brown, crispy exterior.
- OPTIONAL SEASONINGS (for the butter or cheese):
- Garlic Powder: 1/4 teaspoon mixed into the softened butter adds a lovely aromatic touch.
- Paprika: A pinch on the cheese before rolling can add a hint of color and smoky flavor.
- Dried Italian Herbs: A small sprinkle over the cheese can add a Mediterranean flair.
Substitutions and Tips
Want to switch things up? Here are some fun alternatives:
- For the Bread: Try using whole grain or sourdough for a twist, though it won’t be quite as tender.
- For the Cheese: Feel free to mix different cheeses! Just keep in mind that some will melt better than others.
- Butter Alternatives: If you’re in a pinch, you could use olive oil, though it won’t achieve the same buttery richness.
- Seasoning Customizations: Fresh herbs like basil or thyme can add a lovely fresh flavor; just be sure not to overpower the cheese!
Kitchen Tools You’ll Need
- Rolling pin (a wine bottle works in a pinch!)
- Clean flat surface (a cutting board is ideal)
- Non-stick skillet or griddle
- Tongs (for easy flipping)
- Spatula
- Sharp knife for trimming crusts
How to Make Grilled Cheese Roll Ups
Let’s dive into creating this wonderfully crispy Grilled Cheese Roll Up. I’ve broken down the process into simple steps. Follow along, and you’ll have a delicious meal in no time. We’re aiming for crispy, cheesy perfection!
Flatten the Bread
First, take one slice of crustless bread and place it on a clean, flat surface. Using a rolling pin, firmly but gently roll the bread as thinly as possible, almost like a tortilla. Aim for a thickness of about 1/16 to 1/8 inch. This step is crucial; if the bread isn’t thin enough, it will be difficult to roll tightly and may unroll during cooking.
Add the Cheese
Next, take a slice of cheese and place it along one edge of the flattened bread, leaving a small border (about 1/4 inch) on the sides. If you’re feeling adventurous with optional seasonings like paprika or herbs, now’s the time to sprinkle those over the cheese!
Butter the Roll-Up
Now, if using softened butter, gently spread a thin, even layer of it over the entire surface of the bread roll-up. This can be a bit delicate, but it works just as well. The butter is key to that rich, crispy finish we love!
Prepare the Skillet
Once your roll-ups are all prepped, it’s time to heat up the skillet. Carefully place the buttered roll-ups seam-side down in a preheated skillet. You may need to cook them in batches to avoid overcrowding the pan, which can lower the temperature and result in less crispy roll-ups.
Cook to Golden Perfection
Let them cook for 2-4 minutes on the first side, or until they are golden brown and crispy. Using tongs, gently turn the roll-ups to cook another side. Continue to cook and turn, approximately 1-2 minutes per side, until all sides are a beautiful golden brown and the cheese inside is oozing and fully melted. You’ll notice some cheese might start to ooze out—this is perfectly fine and often creates those delicious, crispy cheese bits on the outside!
Serve Hot
Finally, it’s best to serve these delightful roll-ups immediately while they are hot, the bread is crispy, and the cheese is at its meltiest. Trust me, you want to dig in while they’re still warm!
How to Store Grilled Cheese Roll Ups
Leftover roll-ups aren’t so bad! Store any extras in an airtight container at room temperature for up to 1 day. If you have leftovers, they can chill in the refrigerator for 3-4 days. You can freeze them for longer storage, around 2-3 months; just make sure to thaw thoroughly before reheating. For reheating, a quick spin in the skillet will restore their crispiness!
Tips for Success
- Use soft, fresh bread for the best rollability and crunch.
- Don’t overfill with cheese; it can ooze out and create a mess.
- Ensure your skillet is preheated; this will help achieve the crispy exterior.
- Keep the butter soft but not too melty; it needs to cling to the bread.
Serving Suggestions
- Pair with a side of tomato soup for a comforting meal.
- Serve with a fresh salad for a light lunch.
- Garnish with fresh herbs or a sprinkle of chili flakes for added flavor.
- Offer a selection of dips—ketchup, mustard, or marinara sauce are all fantastic!
- Enjoy with a cold drink, like iced tea or sparkling lemonade, to balance the richness.
I hope you enjoy making these Grilled Cheese Roll Ups as much as I do! They’re an indulgent treat that never fails to bring a smile. Happy cooking!